
Okay, so I went to YouTube last night to find tips. Previously, I’d used brads to attach my vellum, but while that’s a good look, it’s not the look you want all the time. I was blanking on other ways and turned to the “interwebs.” I found lots of videos of folks saying to spread glue on the back in an even coat and do it that way. From the number of videos, seems to be the most common way.
However, I’m not a fan of wet glue. First, it’s messy. And second, the last time I used wet glue in a scrapbook, I warped the paper. Probably the wrong kind of glue, but since then I’ve stayed away from wet glue for paper projects.
Then, I found this video with lots more ideas than just brads and glue. And as I watched it, I kept saying, “Duh! Why the heck didn’t I think of that?” She does get to the glue method towards the end, but there’s lots of other ideas before then. Note, my outline below is a bit out of order, but they’re all in there.
Method 1: Cover it
Use whatever adhesive you want, then put something over top of it. Embellishments, stickers, sentiments. They block the spot where the adhesive is so it doesn’t matter that it’s visible through the vellum.
Honestly, as the first method I had to stop myself from face-palming. Like, hello! So obvious I completely missed it. And so easy too because I can’t remember a time when I’ve used vellum and haven’t had something stuck on top that could hide the adhesive.
Method 2: Tuck it
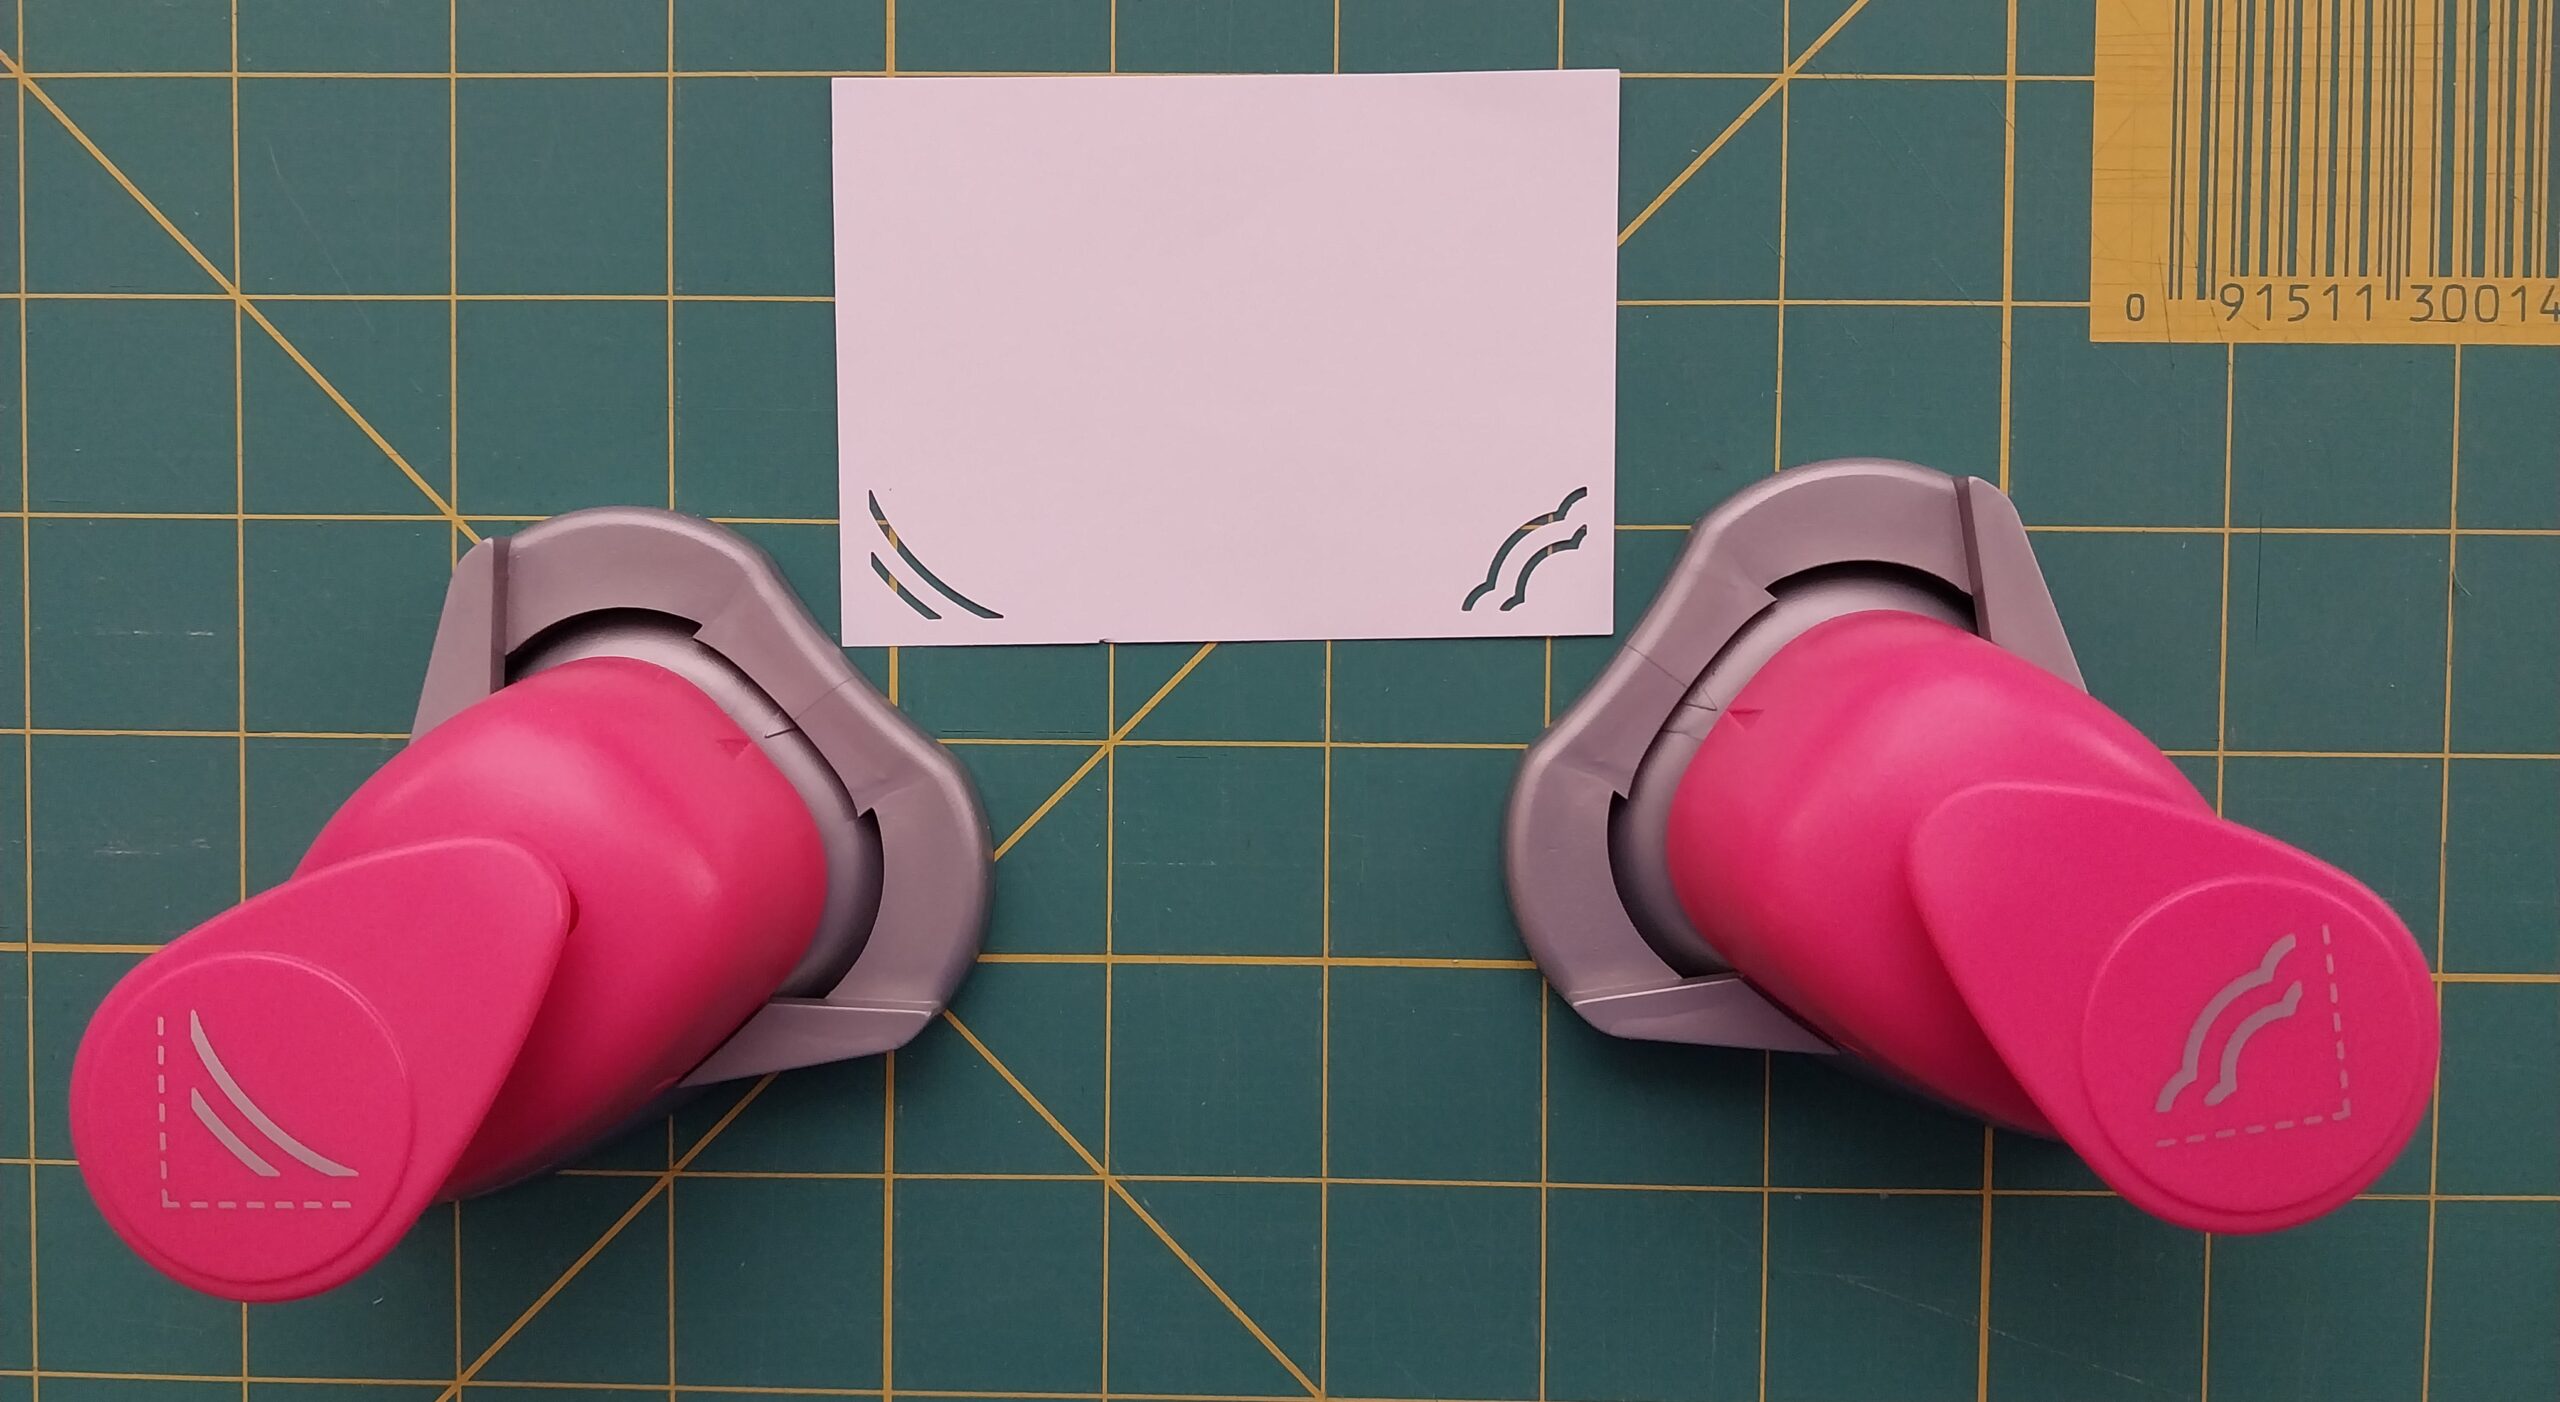
Use photo corners, or similar embellishments with a loose edge, to tuck the vellum under. Not mentioned in the video, but something I thought of was corner punches where a piece of cardstock is designed to fit into a slot, as shown in the picture below. I believe I got these at AC Moore when it was open, but I’m pretty sure I’ve seen them other places since.
Method 3: Use something else to stick it down
Instead of putting adhesive underneath the vellum, you use something on top of it to stick it down. Washi tape is an obvious candidate. Stickers, enamel dots, and other embellishments can all be used as well.
Method 4: Stitching
Either with a sewing machine or by hand. Not one I think I’ll use myself, although I do have We R Memory Keepers complete Sew Easy and Sew Ribbon sets. I could see these being used as a border, and incorporating the vellum into the sewing as well. Probably more straightforward with Sew Ribbon, I would think.
Method 5: Tie it
Punch a hole (or more if desired) in the vellum and the cardstock, pass a ribbon/fiber/thread through the holes and tie them together. Oh, and just thought of this – the hole doesn’t have to be round either. Pull out the mini hole punches (or “punchers” as they are described online.)
Method 6: Wrap it
This was such a “duh” moment for me. After all, I already wrap the ends of my washi tape around the edge of the paper to give a clean look. Why didn’t it ever occur to me to fold over/wrap the vellum as well? Then it can be taped/tacked on the back of the paper where it doesn’t matter if the adhesive shows through. Of course if the vellum is deliberately smaller than the background, this isn’t the method, but often one wants the vellum to go to the edge of the paper, so why not wrap it?
Can also add an opportunity to tuck things under the vellum, since it’s not as tight to the paper as other methods.
Method 7: Physical attachments
- Brads – probably the most diverse of this category of methods in terms of colors, shapes, sizes, and designs.
- Eyelets – different colors and sizes, even some shapes.
- Staples – come in different colors and sizes. And they can be angled into patterns.
- Paperclips – these come in colors as well as fun shapes, and of multiple sizes. Also check Pinterest for ideas on how to decorate the plain silver ones if the cost of fancy ones makes you cringe. 🙂
Method 8: Glues
Either a glue that you coat the back with, or there are adhesives specifically made for vellum. Although one thing she points out, that I hadn’t considered, is these make the vellum less transparent. However, if the entire surface is evenly covered, then the effect is also even. I don’t currently own vellum specific adhesives, and I don’t see spending the money on them when there’s so many other ways. However, for completeness, I’m including it.